How to configure intakes?
Purpose of this article
Teaches how to open courses up to applicants by adding and configuring intakes.
Before you start
Gather data, including:
- Application period start date
- Application period end date
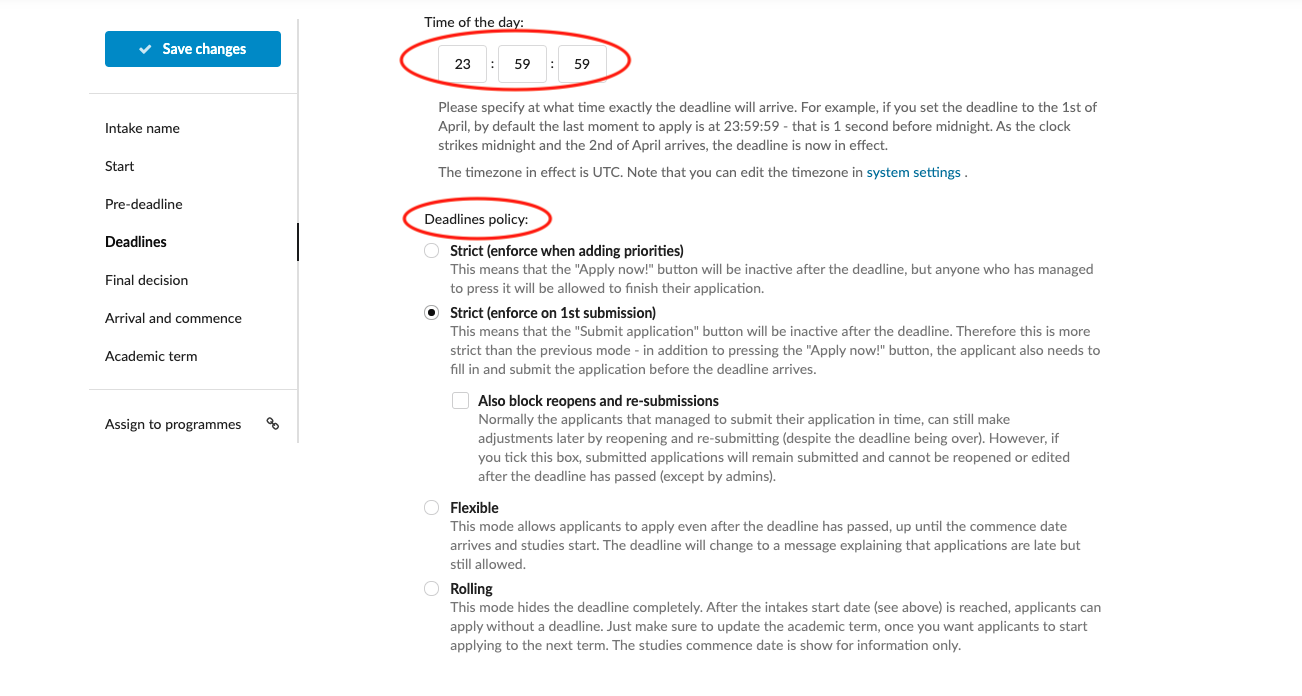
- Deadline policy
- Final decision policy
Make sure necessary Term already exists (How to add new Term)
Instruction
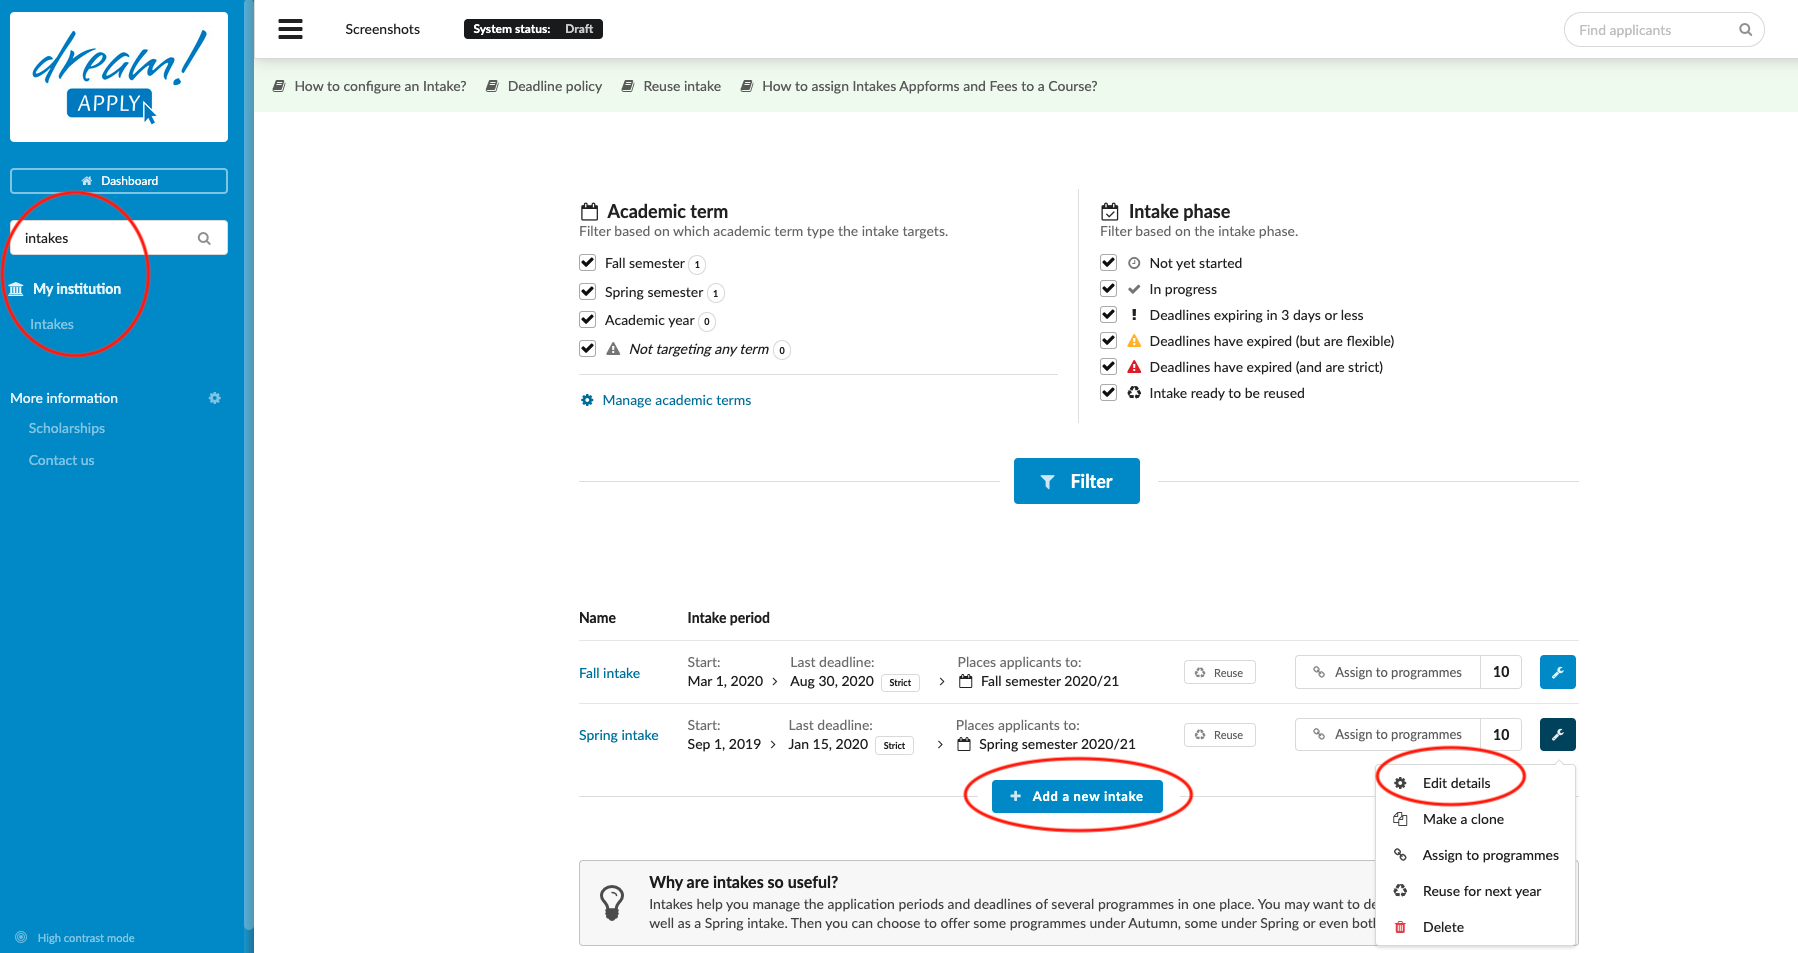
Add new Intake:
- Log in as admin with the “intake" permission.
- Go to: Side menu>My institution>Intake.
- Click "Add new intake".
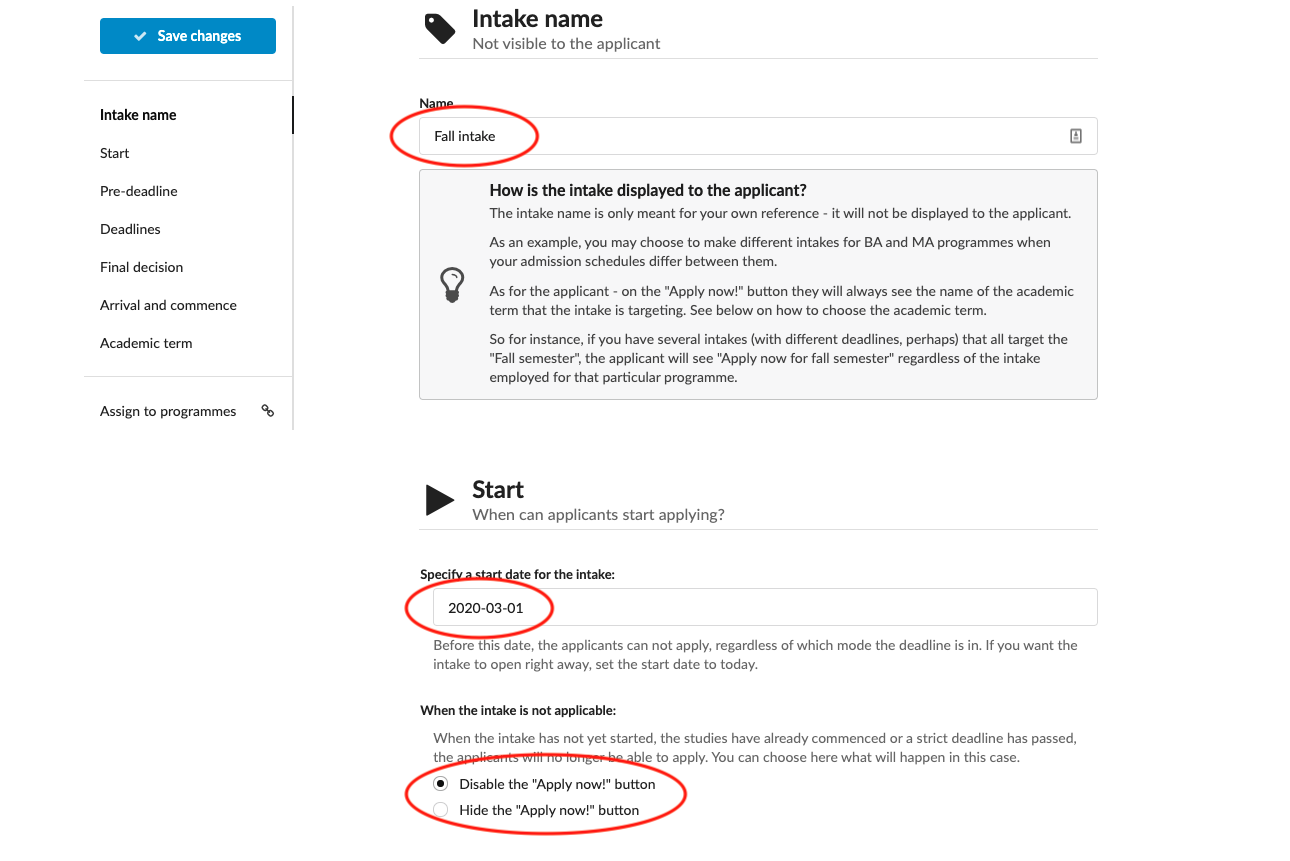
- Specify a name for the intake for your own reference.
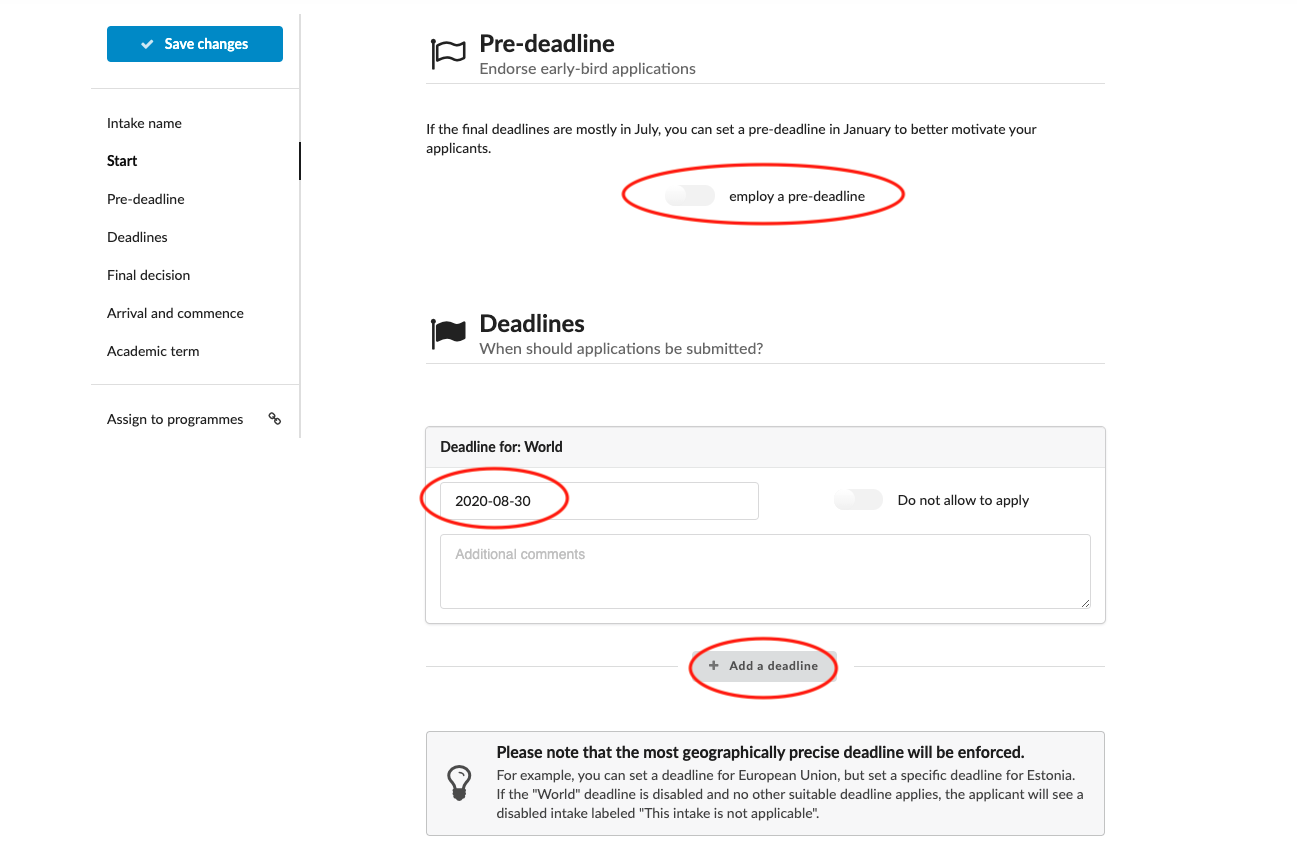
- Input the Start date and Deadlines date.
- (optional) Click on "Add a deadline" to create a different deadline for applicants from different regions or countries.
- (optional) If you would like to hide the Intake period for applicants from certain regions or countries, then toggle the the "Do not allow to apply" switch.
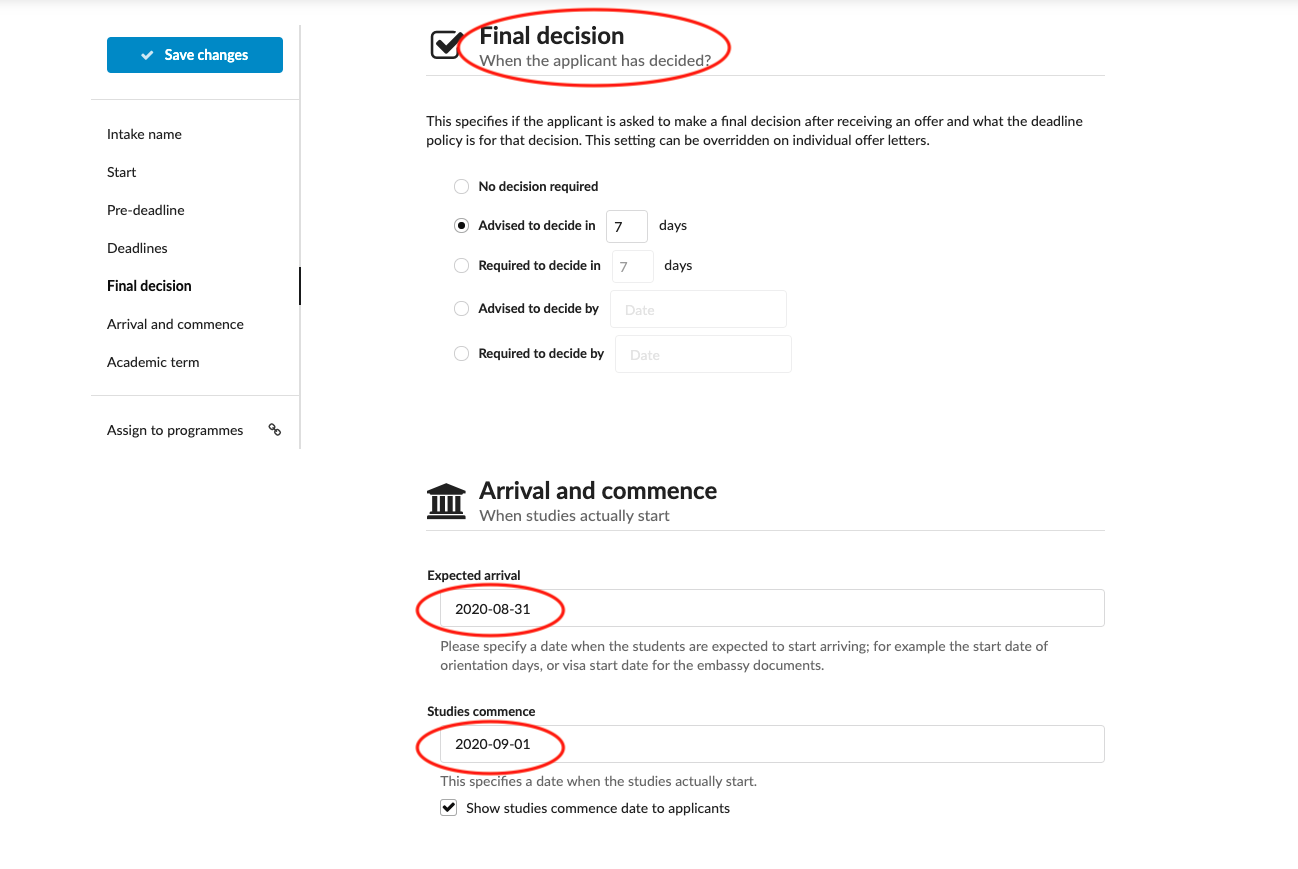
- Click the a deadline policy.(optional) If you would like to advise or require applicants to make a final decision, specify either how many days after receiving an offer or a specific date by when applicants should or have to, make a decision.
- Input the "Expected arrival" and "Study commences" dates.
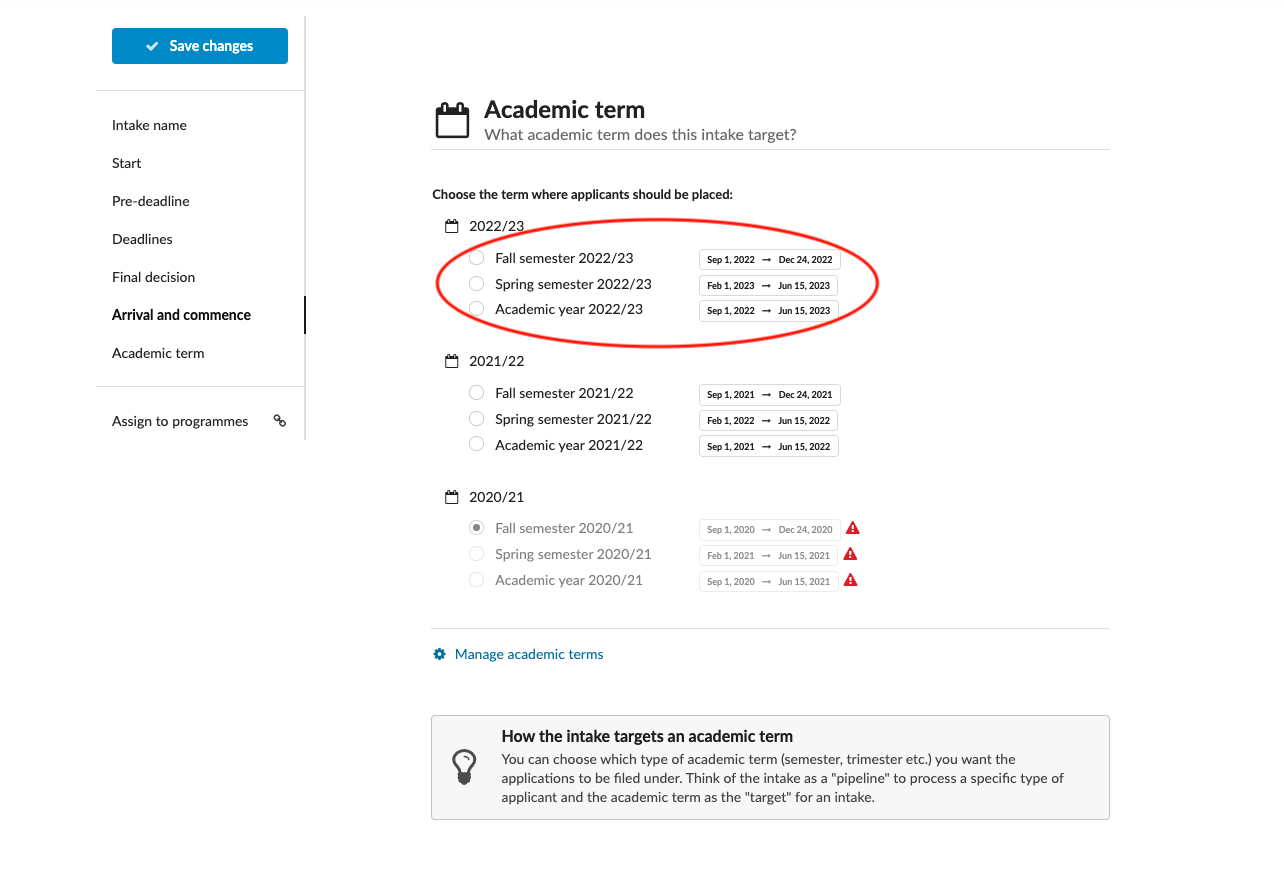
- Choose the term under which applicants applying using this intake should be organized.
Expected outcome of the instruction
An Intake for a specific Academic term is configured based on your university’s application period, deadline polity, and final decision policy.
Related articles
Next steps
Read more about deadline policy
How to assign the intake to a programme?
Open Gallery