Home › Start here › Automation › Invoices › How to send out invoice? ›
How to send out invoice?
This article explains how to manually send out invoices.
Make sure you have:
-
the Finance addon enabled (please feel free to contact [email protected] if you would like more information on enabling this addon)
-
the correct administrator permissions “accounting-view”, and “accounting-edit” (included with the Role “Accounting” in addition to “Superuser”)
-
decided what type of invoice you need to send out and if you will use an existing template or start an invoice from scratch.
Send out a new invoice:
-
Log in as admin with the permissions “accounting-view” and “accounting-edit”.
-
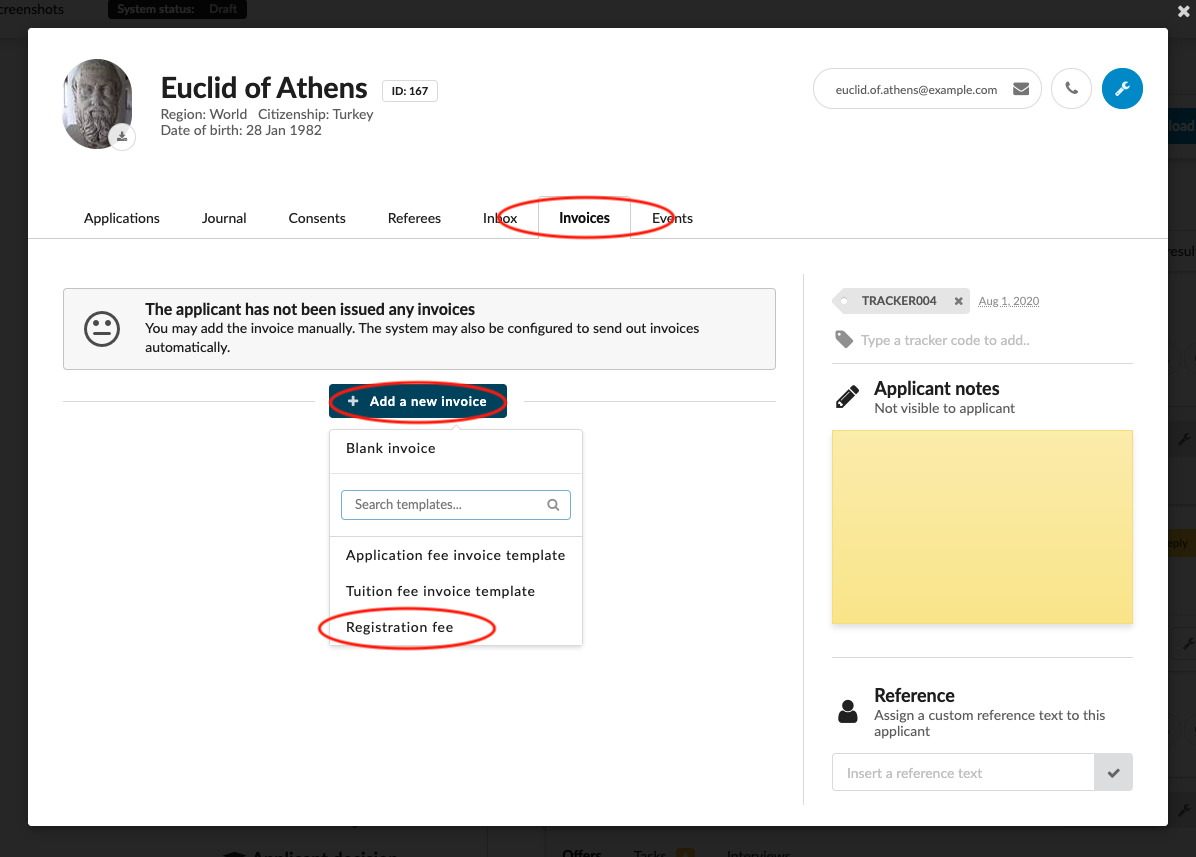
Find the applicant who should receive an invoice.
-
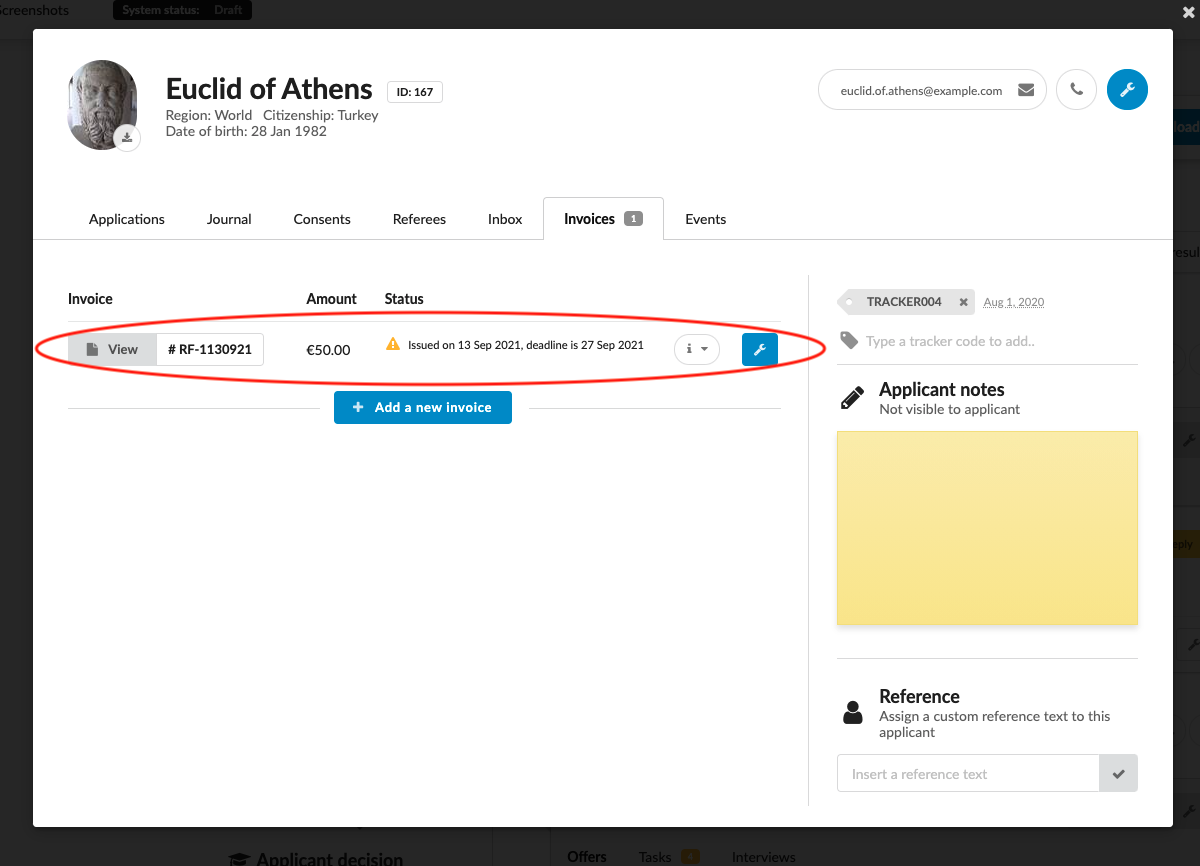
Open the applicant card and choose the “Invoices” tab.
-
Click the “+ Add a new invoice” button.
-
Choose an existing Invoice template
- (optional only if you have the permission “templates”) or start a new invoice by choosing the “Blank invoice” option.
-
Edit the information as needed:
-
Adjust the existing information under the “General details” tab as necessary.
-
Select the Institution.
-
Select the Issuer.
-
Select the Type.
-
Select whether a blind copy will be sent.
- Specify the email to which the blind copy should be sent.
-
Select whether a note should be sent when collected (to your accounting department, for example).
- Specify the email to which it should be sent.
-
Select whether a reminder should be sent when the deadline is approaching.
-
-
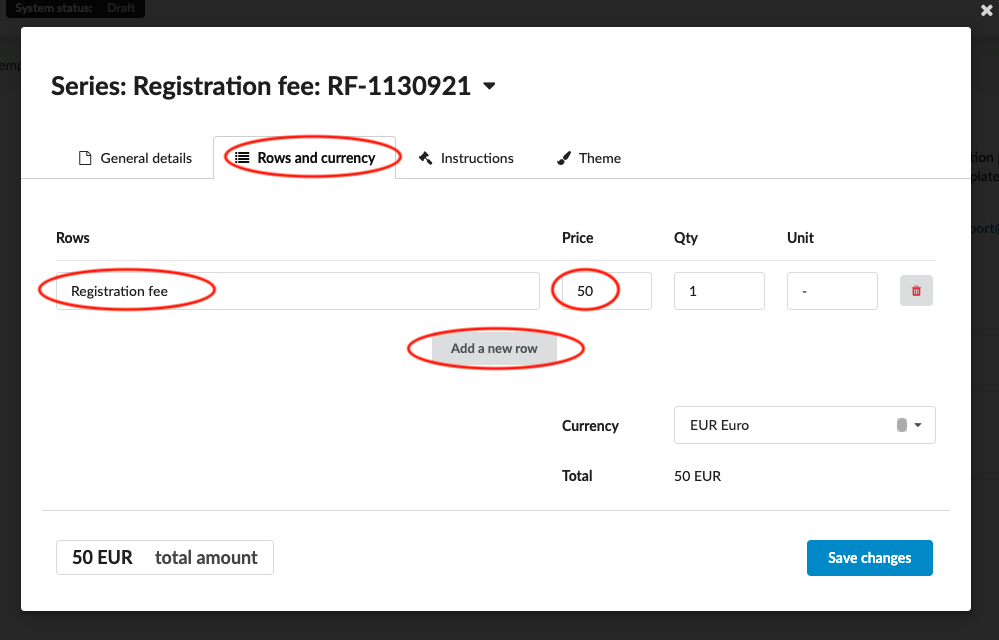
Adjust the existing information under the “Rows and currency” tab as necessary.
-
(optional) Click “Add a new row” to add a new item to the Invoice.
-
Provide the necessary information.
-
Under “Row”, add a description of the item.
-
Add a price.
-
(optional) Under “Qty”, add a quantity.
-
(optional) Add a unit.
-
-
Select an available currency.
-
-
-
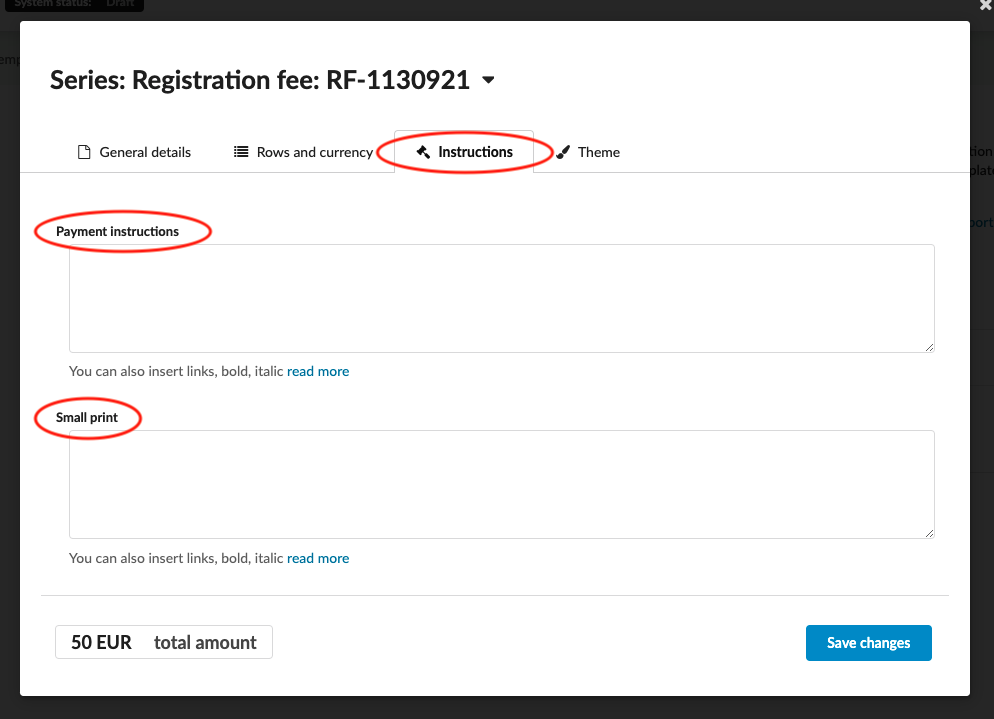
Adjust the existing information under the “Instructions & smallprint” tab as necessary.
-
Payment instructions – this is where the bank name and account codes can be listed so the payer can successfully make a payment to a specific bank account.
-
Payer name - by default this is the name of the applicant, but it can be changed (for instance to make the Payer a parent or guardian of the applicant).
-
Payer email - by default this is the applicant’s email, but it can be changed.
-
Small print – this is a good place to include any additional information or legal text the Payer should know about.
-
-
-
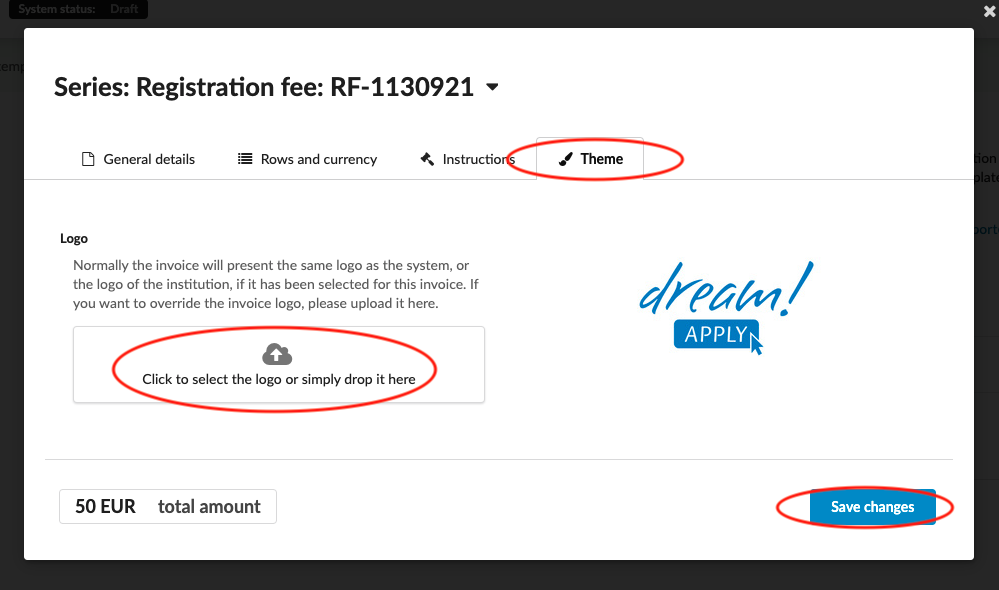
(optional) Click on the “Save” button to save the invoice without sending it out.
-
Click on the “Save & send out” button to send the invoice to the applicant.
(optional only if you have the “accounting-collect” permission) Change invoice status:
-
In the “Invoices” tab, click on the wrench icon next to the invoice you wish to edit.
-
Select “Collect” to add a new collection.
-
Enter an amount.
-
(optional) Enter the date of collection – by default it will be today’s date.
-
-
Choose Edit to do edits on invoice.
-
Choose “Delete” if you wish to delete the invoice.
Once you have filled in all details on the invoice and send it out, the applicant will receive an email with the invoice. They can then pay using instructions on the invoice.
How to create an invoice template
How to set serial number for invoice
Where to view invoices and their status