How to delete an application?
In order to meet your data protection requirements, it may be needed to purge all applications pertaining to a particular academic term. For example, after the admission period for an academic term is over, applicants may be entitled to ask for their data, now no longer required, to be purged. This article will help you achieve that.
Make sure that you have a list of the applications that need to be deleted. Bulk data purging: You can remove the applications only based on the Term! Or you can delete them one by one. If there are any applications you wish to postpone for next year, you can individually migrate them to a term that will not be purged before carrying out this action.
-
Log in as an administrator with the “instance” permission.
-
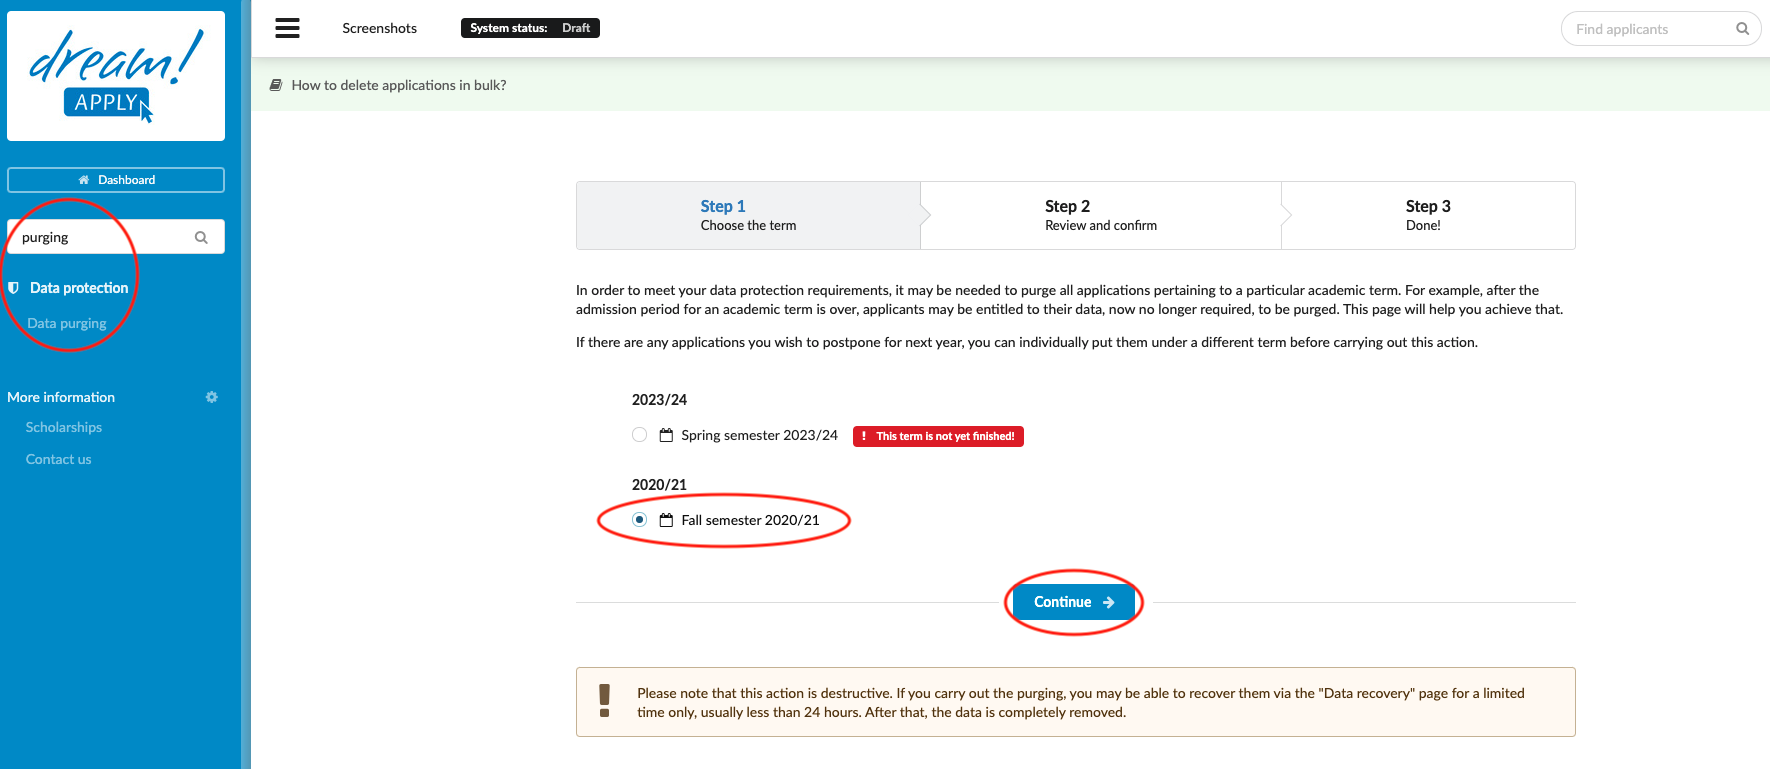
Go to Data protection > Data purging.
-
Select a term and click on “Continue”.
-
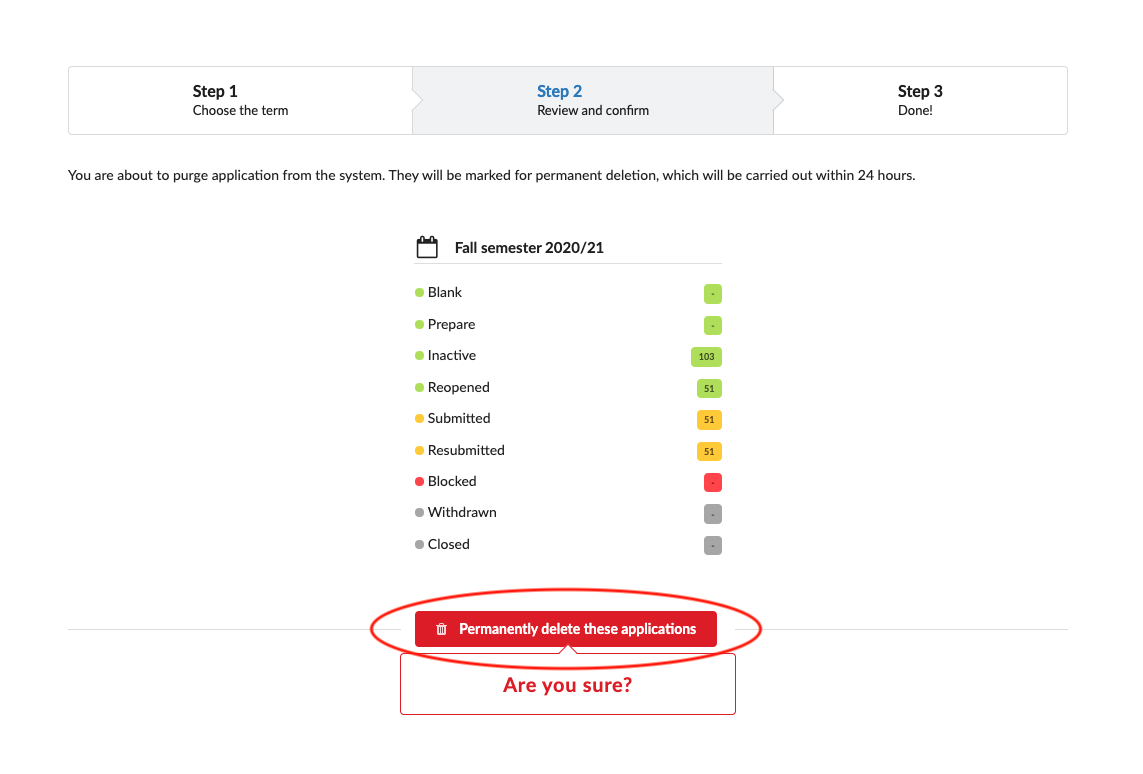
Review the numbers of applications for bulk purging to ensure that the action you are about to preform makes sense.
-
Click on “Permanently delete the applications”.
-
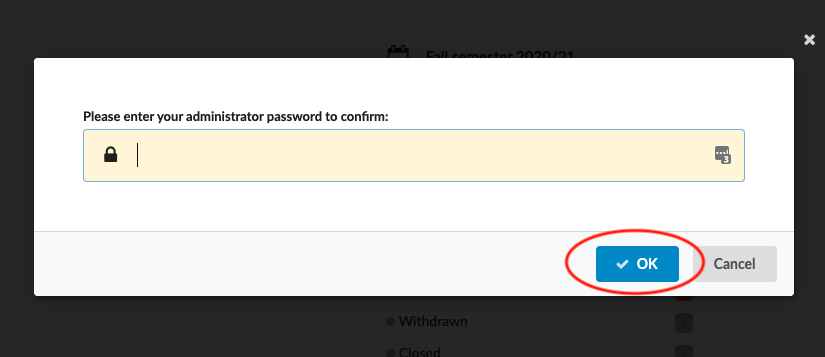
Insert your admin password in the pop-up window and click on “OK”.
Please note that this action is destructive. If you carry out the purging, you may be able to recover them via the Data recovery page for a limited time only, usually less than 24 hours. After that, the data is completely removed.
Read more about how to delete the specific application
Read more about the “Right to be forgotten” section