Home › Start here › Applications › Browse › Browse side menu ›
Browse side menu
This article aims to provide a quick overview of using the side menu in Browse to filter for groups of applicants based on application progress, offer status, applicant decision, or flag.
- An applicant can have more than 1 application (depending on Application limits settings)
Understand the difference between an application and a priority / study course.
- An application can have more than 1 priority / study course (depending on Application limits settings)
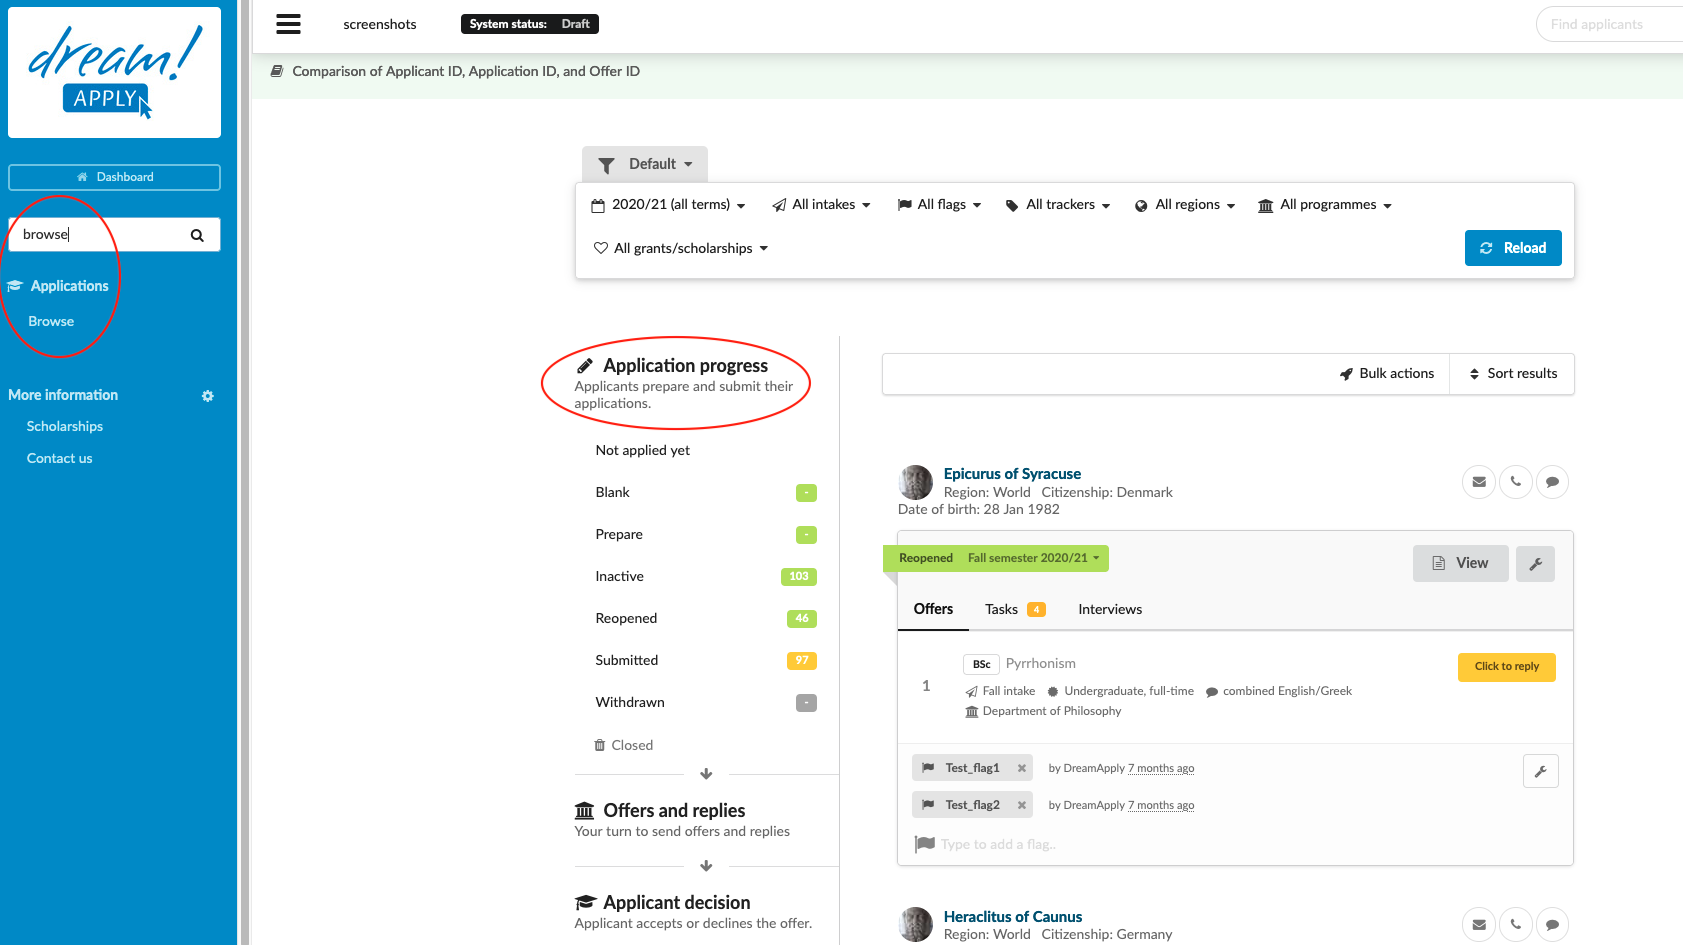
Understand the different phases of the progress of an application (can be viewed under the Browse side menu tab: “Application progress”)
-
(Addon: Marketing) Applicants must first be registered in the system. At this point they can be viewed as a lead under the “Not applied yet” section of the “Application progress” tab
-
Once an applicant has registered and has selected a study programme/course by clicking on an “Apply now!” button for an Academic term they will be moved out of the “Not applied yet” section of the “Application progress” tab of the side menu and will be moved to the “Blank” section.
-
Once the applicant begins filling out their application and uploading their documents they will be move from the “Blank” section to the “Prepare” section
-
If the applicant does not save their application for more than 2 weeks, they will be moved to the “Inactive” section
-
Several things are possible once an applicant has submitted an application:
-
They will be moved from the “Prepare” section to the “Submitted” section of the “Application progress” tab
-
If an applicant reopens their submitted application, they will be moved from the “Submitted” section to the “Reopened” section of the “Application progress” tab
-
If an applicant submits their application again after reopening it, they will be moved from the “Reopened” section to the “Resubmitted” section of the “Application progress” tab
-
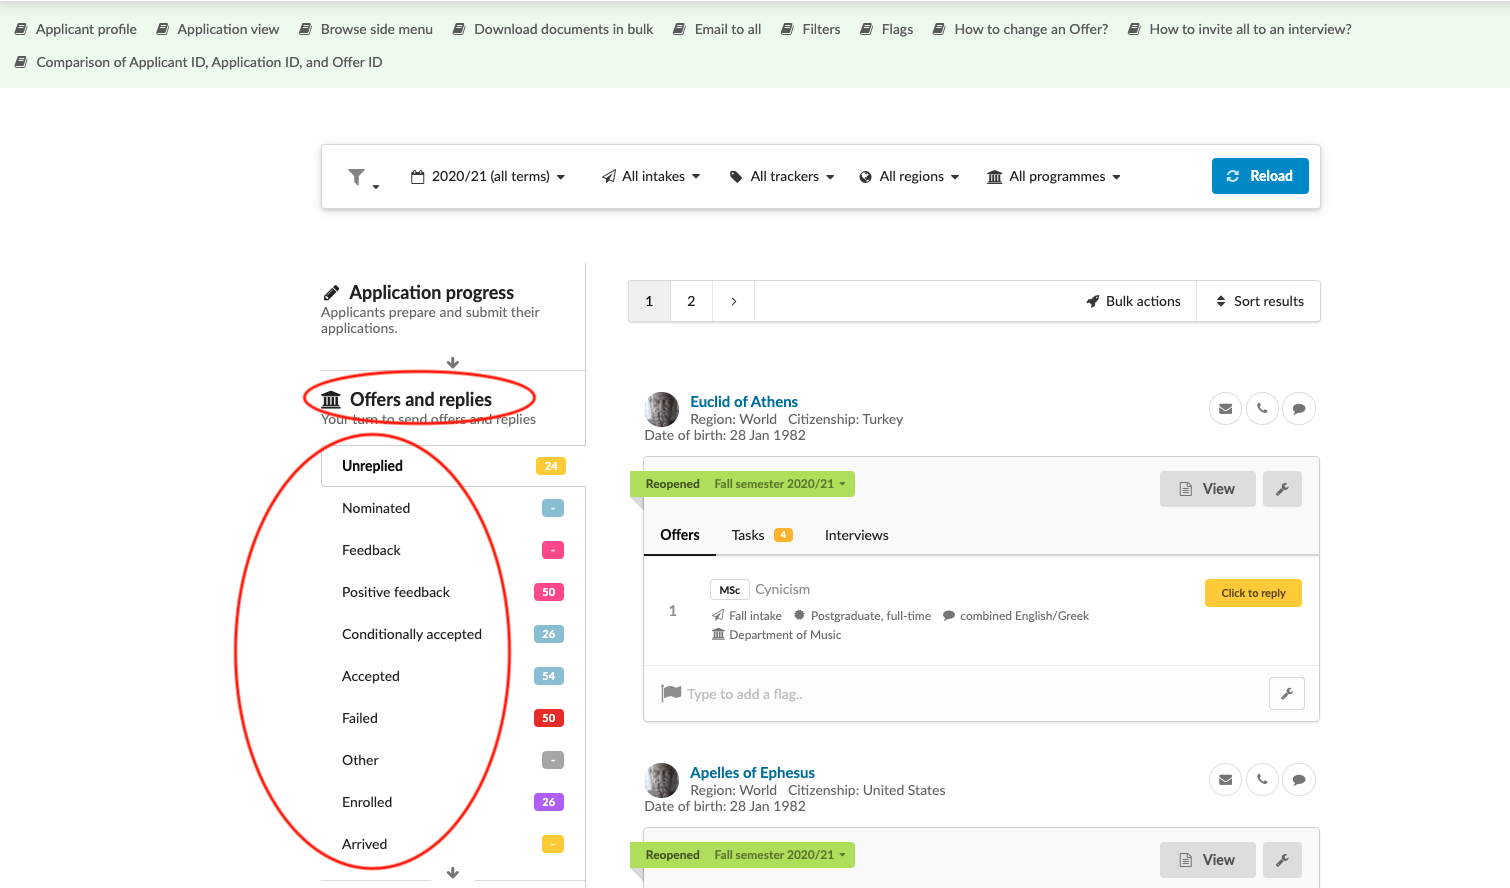
In addition, they will also be able to be found under the Offers and replies Tab in the section “Unreplied” (depending on Offer types settings)
-
Understand the purpose of the different Offer types used in your system
Understand the purpose of the different Flags used in your system
Know what subset of applications you are filtering for.
Locate group of applicants by filtering using the side menu:
-
Log in as admin
-
Go to: Mine menu>Browse
-
Locate side menu
-
Locate desired tab of the side menu: Application progress
-
Locate desired application status:
-
(Marketing add-on) Not applied yet
-
Blank
-
Prepare
-
Inactive
-
Reopened
-
Submitted
-
-
The following application progress statuses can be either pre-submission or post-submission, therefore there are additional filters to show if an applicant has either “Ever submitted”, or “Never submitted”.
-
Withdrawn
-
Closed
-
-
Locate desired tab of the side menu: Offers and replies
-
The list of offer types to choose from will depend on what offer types are being used in your system. (see Offer types for more information)
-
Optional: Make use of possible filters
-
All offer types besides the initial offer type “Unreplied” can be additionally filtered by showing “only confirmed” - an offer that has been “Confirmed and sent”, or “only unconfirmed” - an offer that has only been “Saved”.
-
If an offer type allows the applicant to make a decision, additional filters are available: “Undecided” - an applicant has not yet made a decision, “Final decision” - an applicant has decided to come to study, or “Declined” - an applicant has decided to not come study.
-
-
Locate desired tab of the side menu: applicant decision
-
Final decision - These are the applicants who have been accepted and have indicated they will come to study.
-
Declined - These are the applicants who have been accepted and have indicated they have decided not to come study.
-
Undecided - hese are the applicants who have been accepted and have not made any decision yet.
-
-
After reading this article, users will be able to efficiently navigate the side menu in Browse and use the different methods to locate groups of applicants by filtering for different parameters.
Read more about addon: Marketing
Read more about application limits and call to action buttons
How to add and adjust academic terms