Home › Start here › Marketing › Trackers › How to assign tracker? ›
How to assign tracker?
Demonstrates the methods to mark applicants with trackers for easier grouping and applying discounts to fees
Make sure that you have Marketing add-on enabled. (you can check it in Dashboard)
Gather institution-specific data, including:
-
List of the trackers you want to use to mark applicants with
-
List of agents that you cooperate with
-
The logic for the trigger to assign the tracker
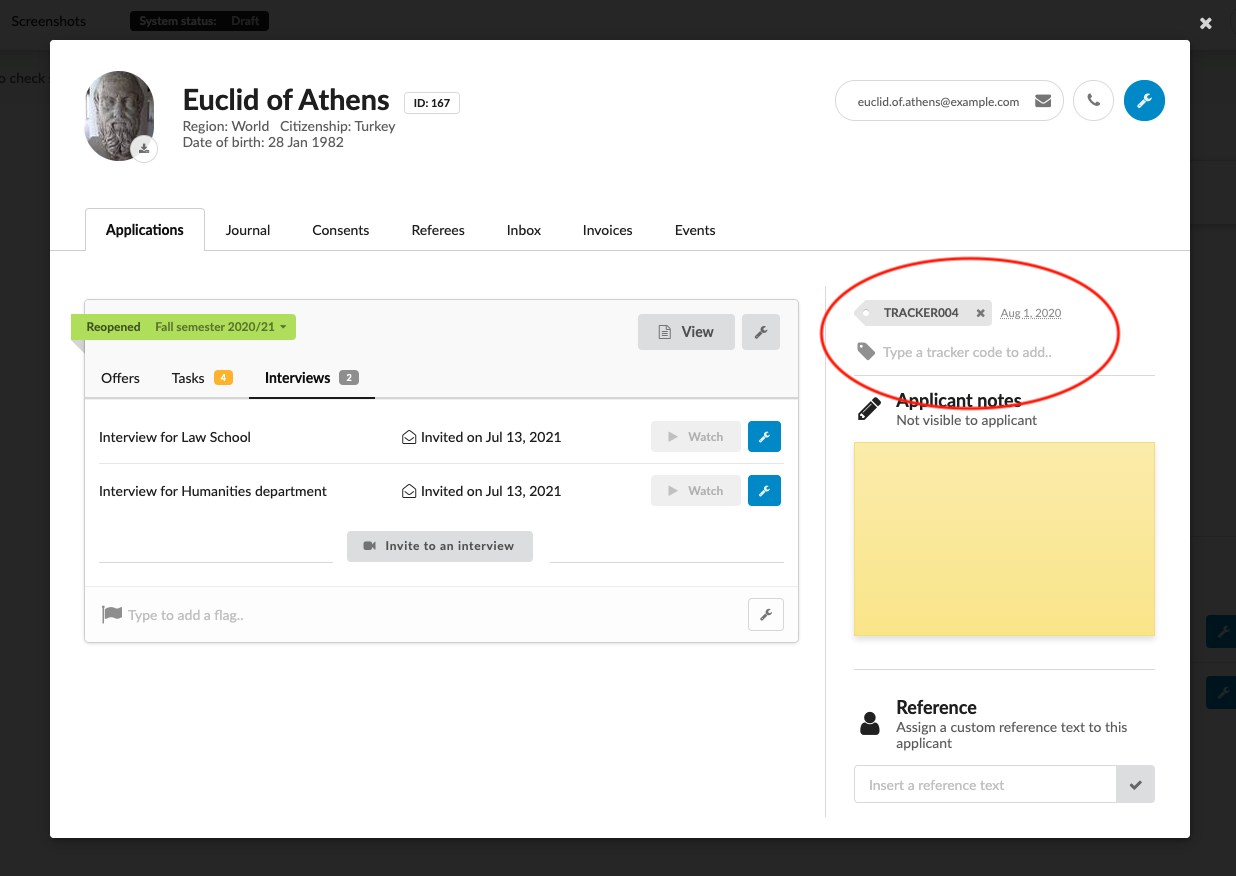
To assign a tracker individually:
-
Log in as an Administrator
-
Go to: Main menu>Browse
-
Find the applicant
-
Click on Applicant’s name
-
Find a field “Type a tracker code to add…”
-
Type a tracker code you want to assign to Applicant
-
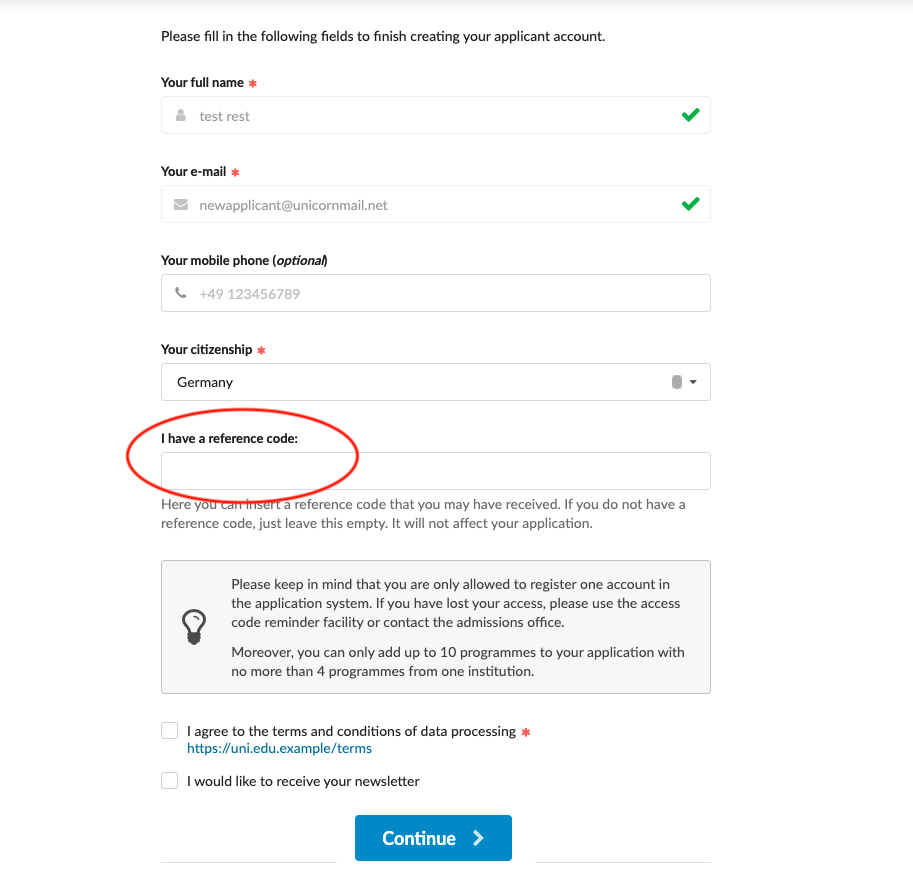
An applicant can add the tracker code during the registration by filling in the “I have a reference code: “ field
-
An applicant can add the tracker code after registration, by clicking on his name at the top right corner, and then navigate to “Reference code.”
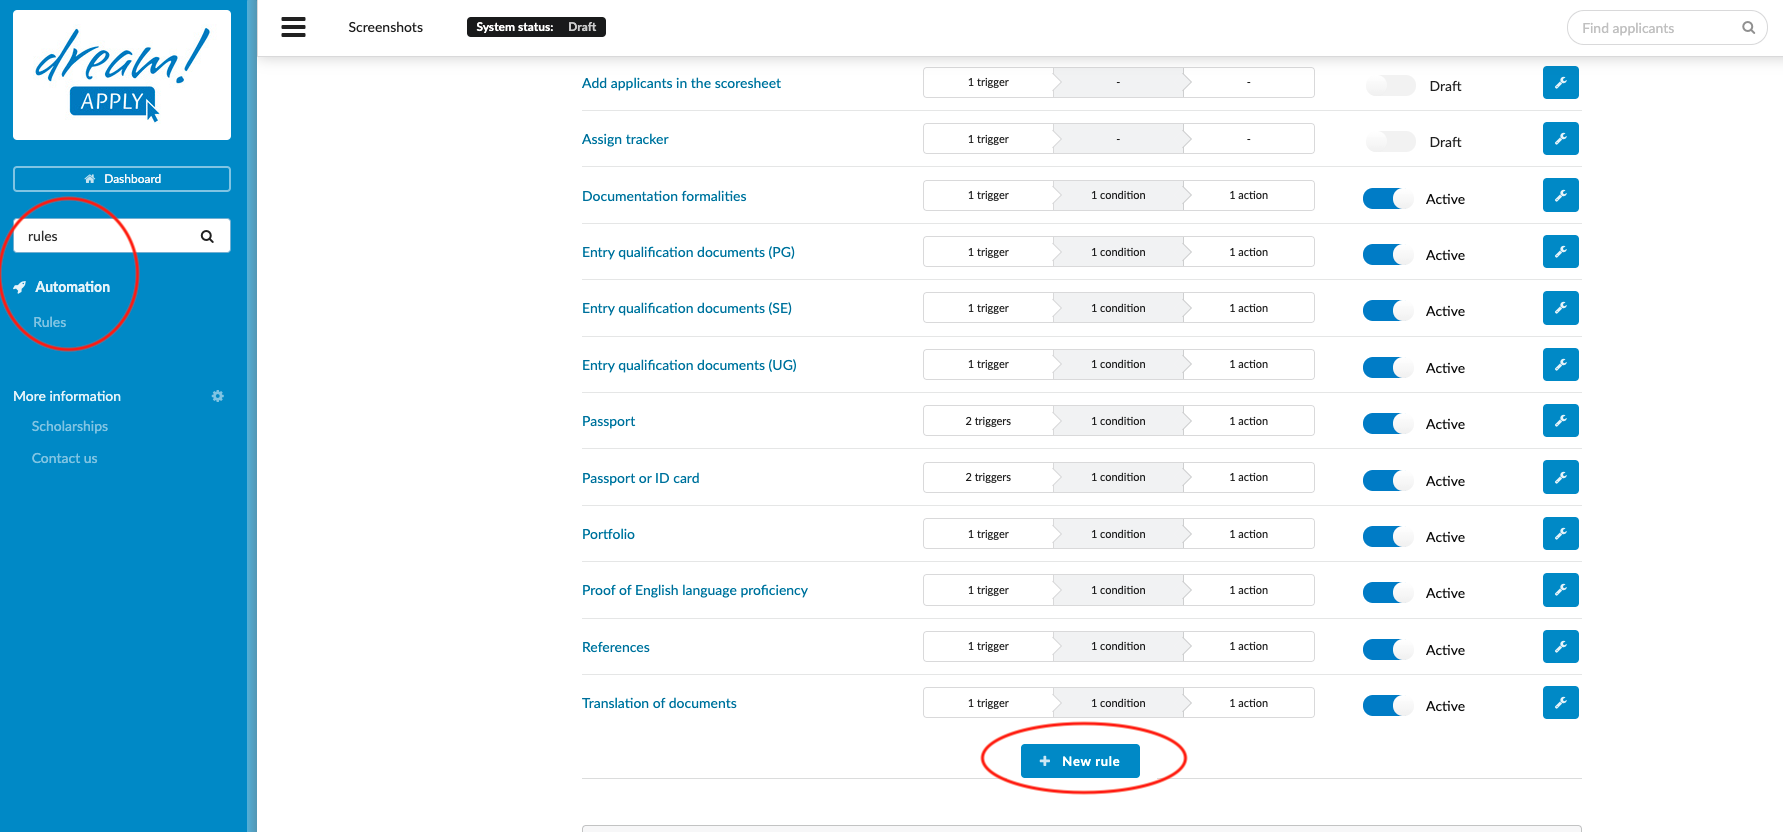
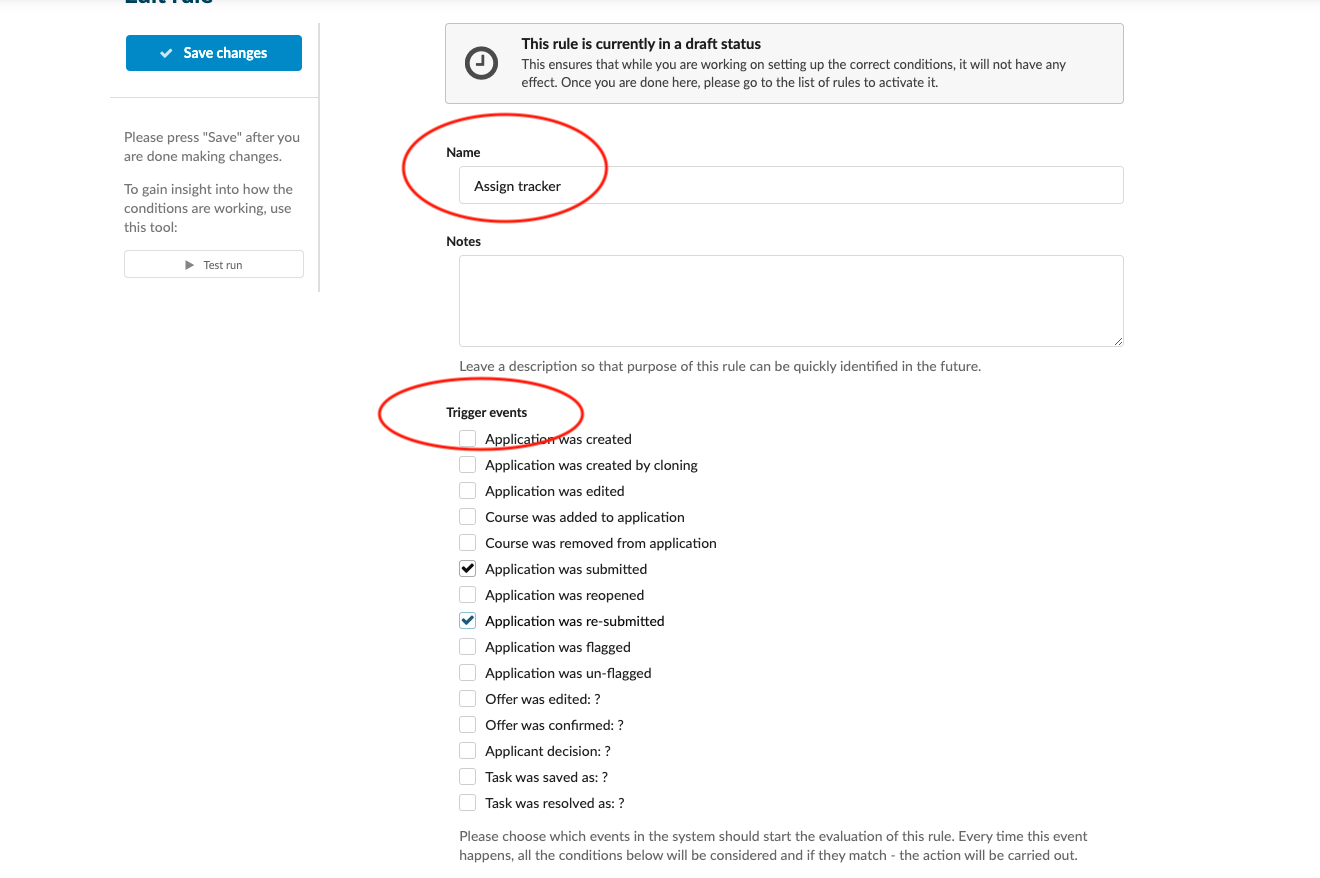
- A tracker can be assigned automatically by setting up the Rule engine. Read more here.
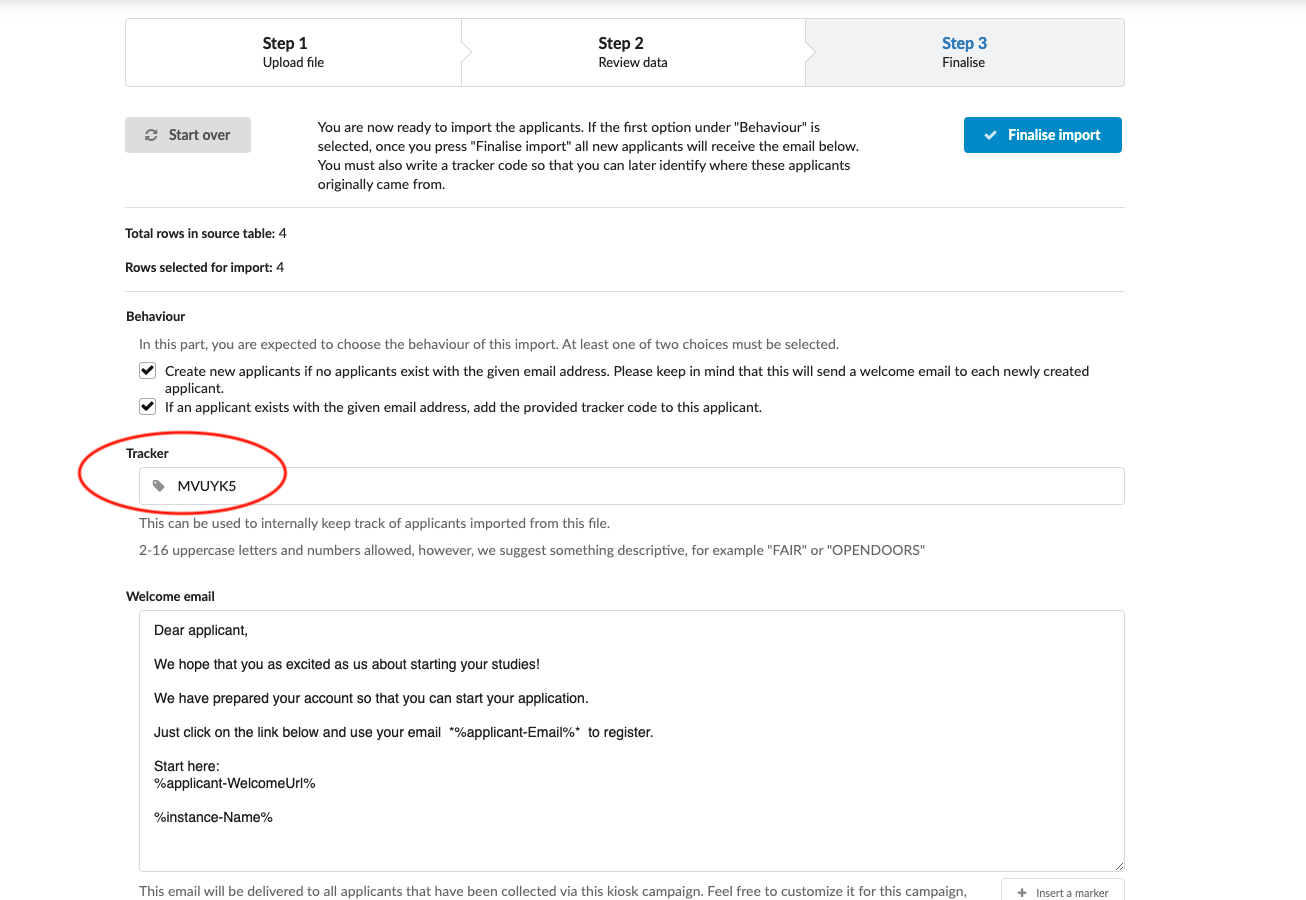
- The tracker can be assigned to imported leads. Learn more about how to specify the tracker code and add it to import leads.
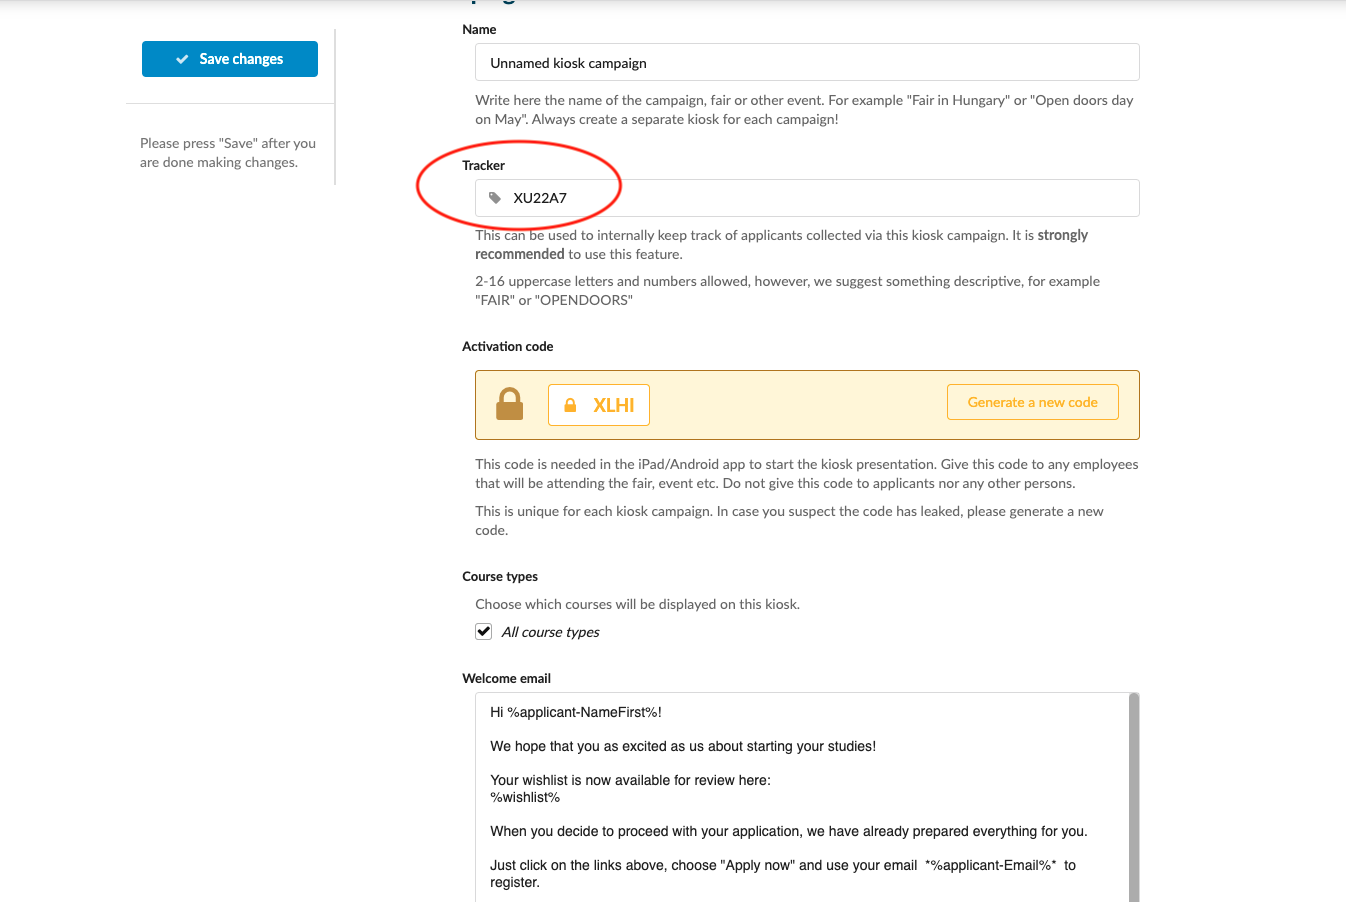
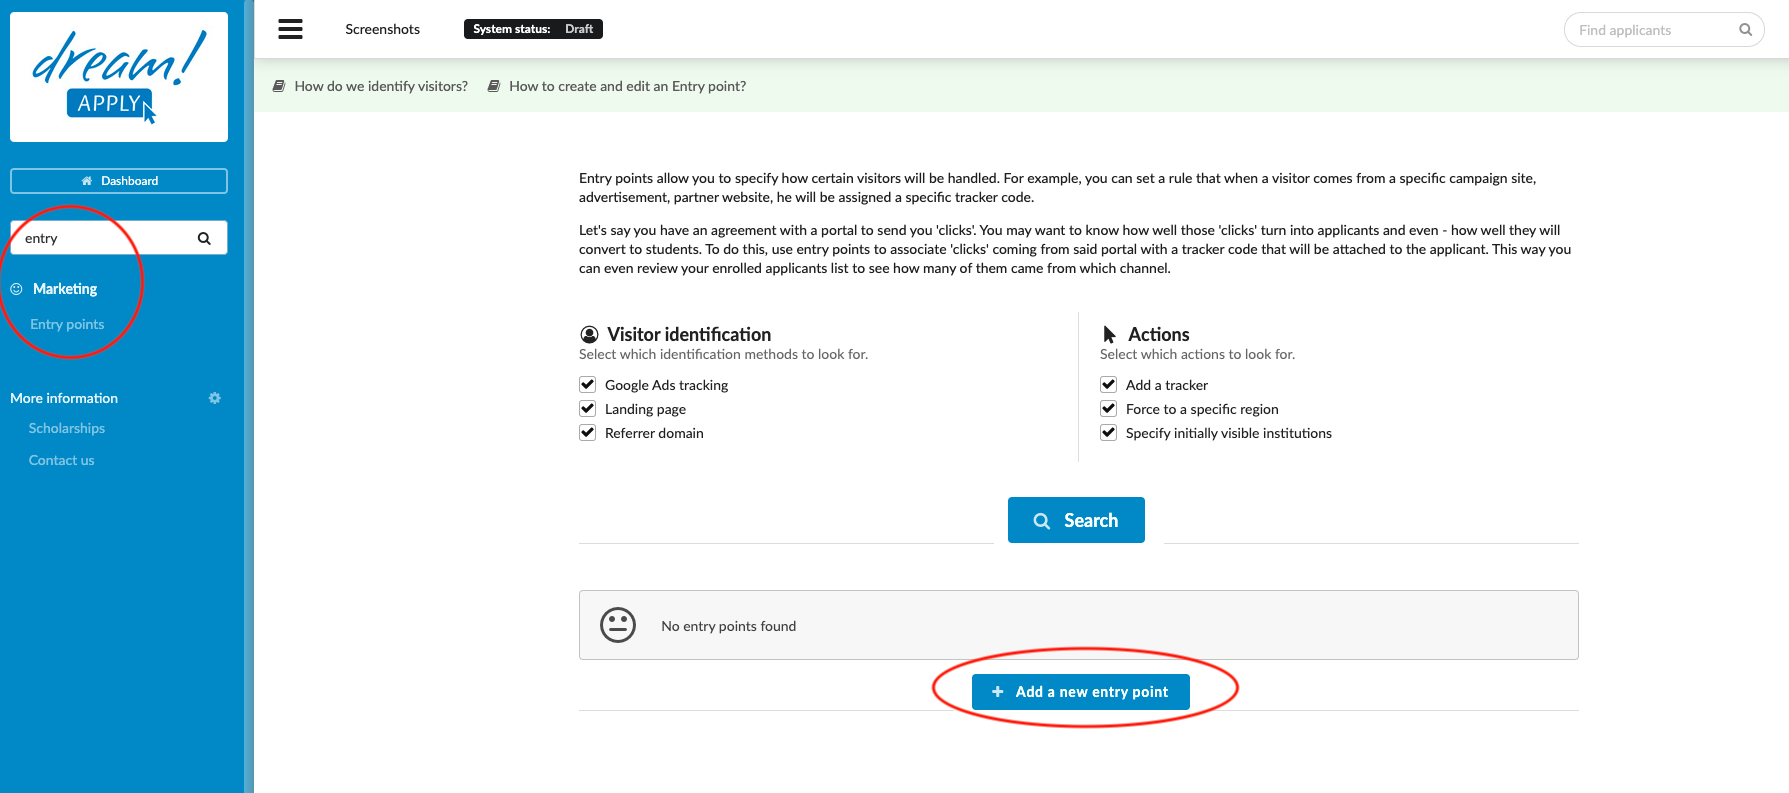
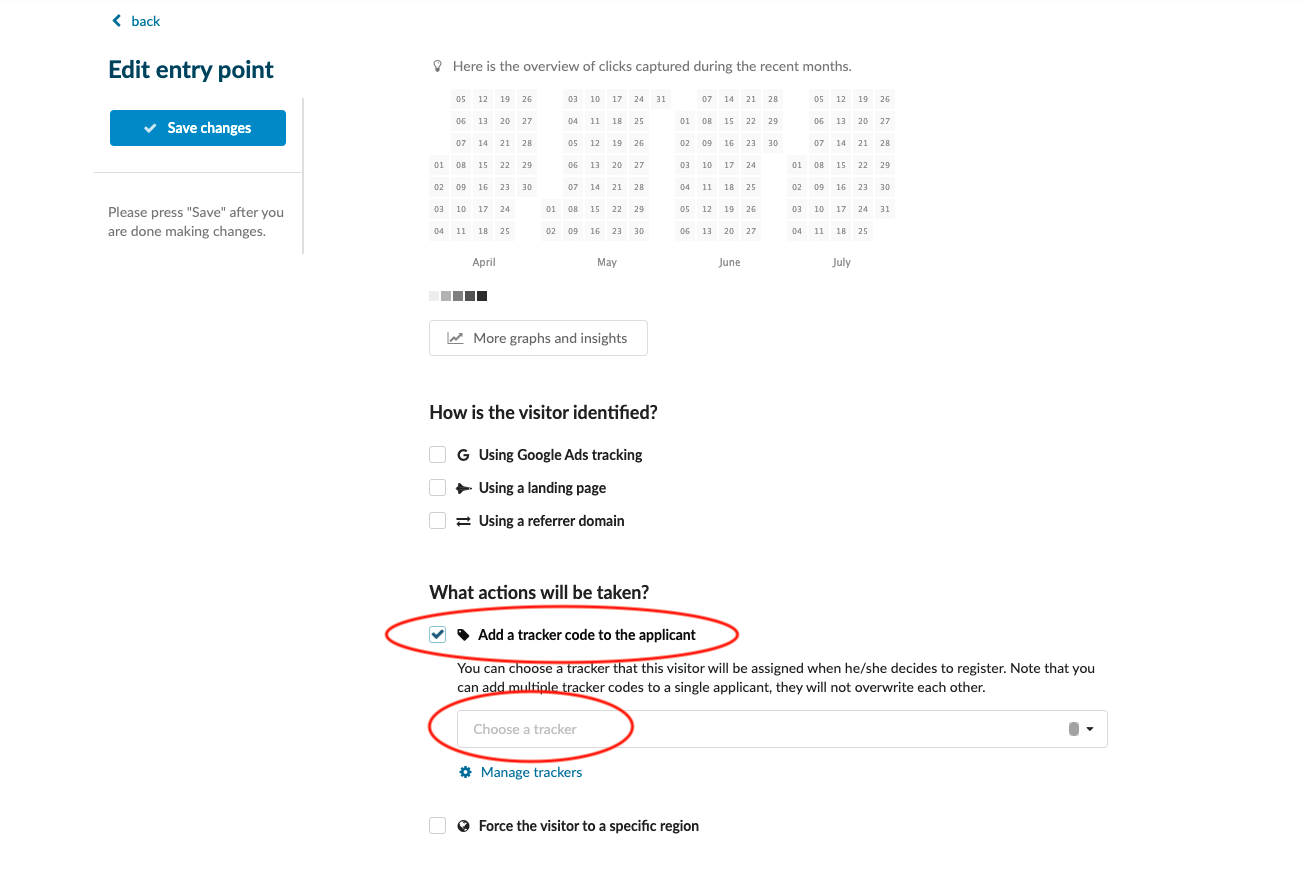
- After configuring the Entry points, the determined tracker will be added to all inbound leads.
Assign tracker by applicant:
To assign a tracker automatically:
Assign tracker to imported leads:
Assign tracker to incoming leads (Entry point):
Having trackers assigned to applicants allows not only grouping them by for example source or fairs but also give percentage discounts to fees.
How to create and adjust advisor’s account?